Friday, July 23, 2010

"Carson" Baby Sign

I received an order to do a Baby Sign to match the new baby's nursery. It is going to be a surprise for the new mommy. I was given a few photos to use. It had such cute inspiration. This is what I came up with. I used New Arrival, Animal Kingdom, and Dinosaur Tracks. I also used Mod Podge Gloss to seal the sign. I hope you like it!! =)


The giraffe is from New Arrival and I customized it by adding the snout and the spots.


The palm trees are from Dinosaur Tracks. I added the coconuts. It just isn't a palm tree with out them  lol! 

My monkey inspiration.

The monkey is from New Arrival. Just a little customizing went in to him.

This is a name sign already in the nursery. I love Polka Dots! 

"The baby's bedding that  I matched the sign to."

The tiger is from Animal Kingdom and I again customized it by adding paws, a tummy, and a tail.

The frog is from New Arrival but I only used the head. The body was hand drawn to match the frog on the blanket. The elephant is also from New Arrival and not very much customizing done there.


Thanks for looking! Have a great day! =)

SOLD!
Custom orders available

Sunday, July 18, 2010

Flower Push Pin Video Tutorials & Cork Board Pic Tutorial!!!

This is so exciting! These are my very first video tutorials!! Yes, I had to make my own camera stand but I think it worked out okay. lol The tutorials are on how to make the flower push pins. You can make all different kinds. These are just the ones that I came up with. 

1) Rosebud Push Pin

2) Ruffle / Frilly Flower Push Pin

3) Tulle Singed Flower Push Pin

4) Dainty Flower Push Pin
Part of this flower I got from Rhonna Designs. Check out her blog for more info on making these gorgeous fabric flowers

5) Black & White Flower Push Pin
Saved my favorite for last...hehe!! =)
 If you have any questions about any of the flowers or want to let me know what I can do to better my video tutorials then leave me a comment. Feedback is greatly appreciated. =)

Cork Board Tutorial

I used Krylon Interior-Exterior Ultra-Flat Black spray paint.
I sprayed them outside on a drop cloth. I also spray painted the back edges as well. It dried fairly quickly too which was nice and had great coverage!

Once dry, I used Mod Podge Gloss and coated all of the edges. You want to try and do very even strokes when using Mod Podge because it can leave streaks. 

Mod Podge has dried. I had to eye the cork board while tracing the lines. The inside of the tray was very intricate. It definitely wasn't perfect but it works. An ideal Frame would be one with square or circle interior. It's much easier to cut your cork to fit.

I attached my  hard wear with hot glue...of course lol.


Glue in your cork. I used 3 layers of cork because I accidentally bought the wrong thickness. Oh well, you live, you learn! =)

Adorn your new custom made push pin flowers!! 

Thanks for checking all of these out. I know it was a long one. I hope you made it through and most of all I hope you enjoyed it as much as I did! Have a great day! =)


Saturday, July 17, 2010

Refurb'd Cork Board

I found these trays a few months ago but have been way to busy to make cork boards out of them. Everyone is starting to make them now. Its funny how we all get the same idea at the same time! lol Anyway, these trays came as a set of 2. I just think they are so ugly but they are just perfect for my vision of a corkboard. I can't wait to use it! I got the push pin idea from Greenbean's Crafterole. She has some really cute push pins that she made. I will be posting the tutorial tomorrow! For now, enjoy the pics! =)


Pretty push pins! =)

I don't know why these turn sideways when I post them....


Sideways again...


Friday, July 16, 2010

Flower Headband


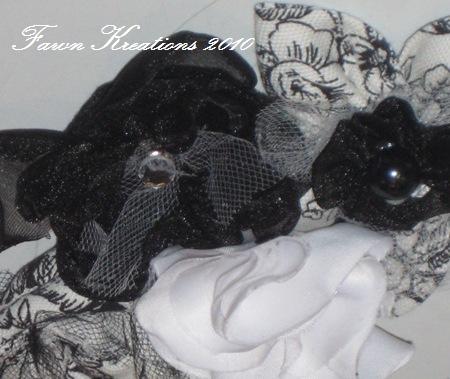
Everyone is making these gorgeous headbands so I decided to give it a try and make myself one! They do take a bit of time but I love the result and I can't wait to wear it! Thanks for checking it out! =)


This is my favorite flower. Ruffles are so cute! 


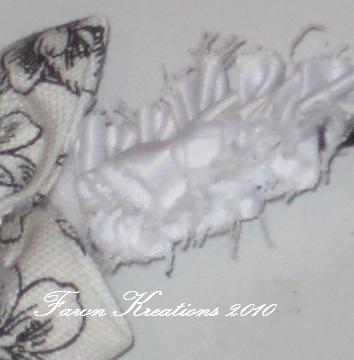
I love the frayed ruffle! I think it gives it a slightly "rebel" look.
Custom orders available!

Monday, July 12, 2010

"Savannah" Baby Sign


I have to admit, this was a tough one. Once I got my groove then it was no problem. Sometimes you have a vision for what you want to do and just can't seem to figure out how to get it to come through. I am glad this one worked out. I used Tinker Bell and Friends for Tink. That cartridge is a very intricate cart. A little frustrating at times. I used Calig. Collection - Gratitude for the name. 


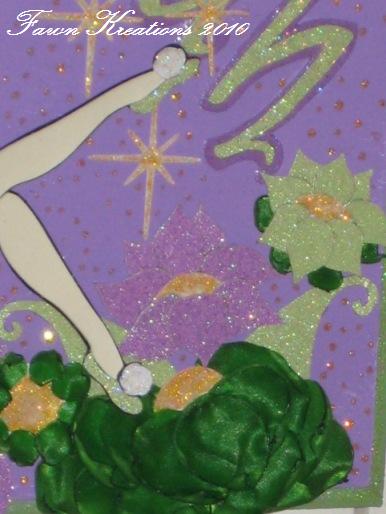
It is hard to see but I used the filigree feature for the wings and backed them with acetate. I then painted it with Mod Podge Sparkle to give her wings a "see-thru, sparkle" effect. It looks cool in person!


Gotta love the pixie dust!


Again I used the acetate to back the wings. Thanks for taking a peek at Tink! =)
SOLD
Custom orders available!