Thursday, January 13, 2011

"How to Link to a Page" Tutorial

I had a heck of a time trying to get "tabs" at the top of my page so this was as good as I could get it lol.

If you would like a custom image, follow Steps 1-6 of  "How to make your own Header for Blogger on Picnik.com". Otherwise, you can find a photo or clip art if you would like. 

Secondly, if you have not already made "Pages," you will need to do so. 

Step 1: Start off by going to "DESIGN" and then click the "POSTING" tab at the top. 

Step 2: Click "EDIT PAGES" and create new pages such as "About me," "Home," etc...Next, click "EDIT" under whichever page you would like to add an image. 

Step 3: Find and click the picture icon like in the pic below. Find and choose your desired pic.

Step 4: Once it uploads, click "ADD SELECTED."

It should now appear in your text space.

Step 5: Before continuing, you need to go to the web page you want to link to and copy the URL.

Step 6: Highlight your image and click "LINK" like in the pic below.

Step 7: You will now paste the URL into the bar underneath "To what URL should this link go?" 

Step 8: Click "OK."

Step 9: Click "PUBLISH PAGE."

Step 10: Go to "VIEW BLOG." The tab or page you just created should appear either below your header or to the upper right side of the page. 
Step 11: Click the tab and it should bring you to your image. 

Step 12: Click your image and it will bring you to the desired page you want your viewers to go to.

I hope this can help some of you. Enjoy!

"How to make your own Header for Blogger on Picnik.com" Tutorial

This tutorial will be using Picnik.com to make a header for Blogger. It is free to sign up and use. And, it is extremely addicting. =) 
(You can also use other websites.)
Here we go!

Step 1: Take a picture of anything that is white.
Load picture to you computer and save it where you can find it.

Step 2: Upload your picture to Picnik.com.
It should turn out like the picture below. It is grayish, but that is fine.


Step 3: Click the "CREATE" tab at the top.
Then click "EFFECTS" underneath the tabs.
Find and click "BOOST" on the left sidebar.
Your picture should whiten up.

Repeat the boost until your screen is white like the pic below.

Step 4: Once you are satisfied, find and click "Stickers."
There will be side bar to your left. If you want a background behind your text, you will need to set that up before placing your text otherwise your text will be covered by the background.

I chose this sticker for my background. There is a color tab on the upper right where you can change the color of your stickers and text.

When you click on your sticker, there is a circle at the top of your sticker's box. This will rotate your sticker. You can also change the size of the sticker by using either the color tab where it says "SIZE" or by pulling the sticker from it's corners like you would when cropping.

Step 5: I am now going to choose "TEXT" and place my text over my background.

The color and size can be changed the same way the stickers can. I am using the word "tutorials" which will be used in the "LINK" tutorial later. Place your text where you want it.

You can go back to stickers and create some more if you choose to.

If you would like something to be flipped the opposite way, find the color tab to your right and find "FLIP."

(Color Tab on upper right)

Once you click "FLIP" the sticker should be facing the way you would like.

This is my finished design.

Step 6: When you are finished, find the "SAVE & SHARE" tab.

Save it to a place you will remember. I usually save it to the same place, such as desktop, and keep the same name but add a number to it.

Step 7: You will now need to log into your Blogger account. Once you are at your dashboard, find and click "DESIGN."


Step 8: Click "EDIT" under "(HEADER)."

Step 9: You should see this window open. Click "CHOOSE FILE" and find where your picture is. When you find it choose it and it should load to this window. It is possible you may need to resize the pic before loading it here. You can also choose the option "SHRINK TO FIT" at the bottom of this window. You will need to click this before loading your pic.

Step 10: Click the option "INSTEAD OF TITLE AND DESCRIPTION." This will allow only your header to show.

 Step 11: Click "SAVE."

Step 12: Click "VIEW BLOG" and check out your new header. If you do need to resize your header, it may take a few times loading it to get it how you want it. Enjoy!

Stay tuned for "How to link my tabs to other pages such as Facebook" Tutorial

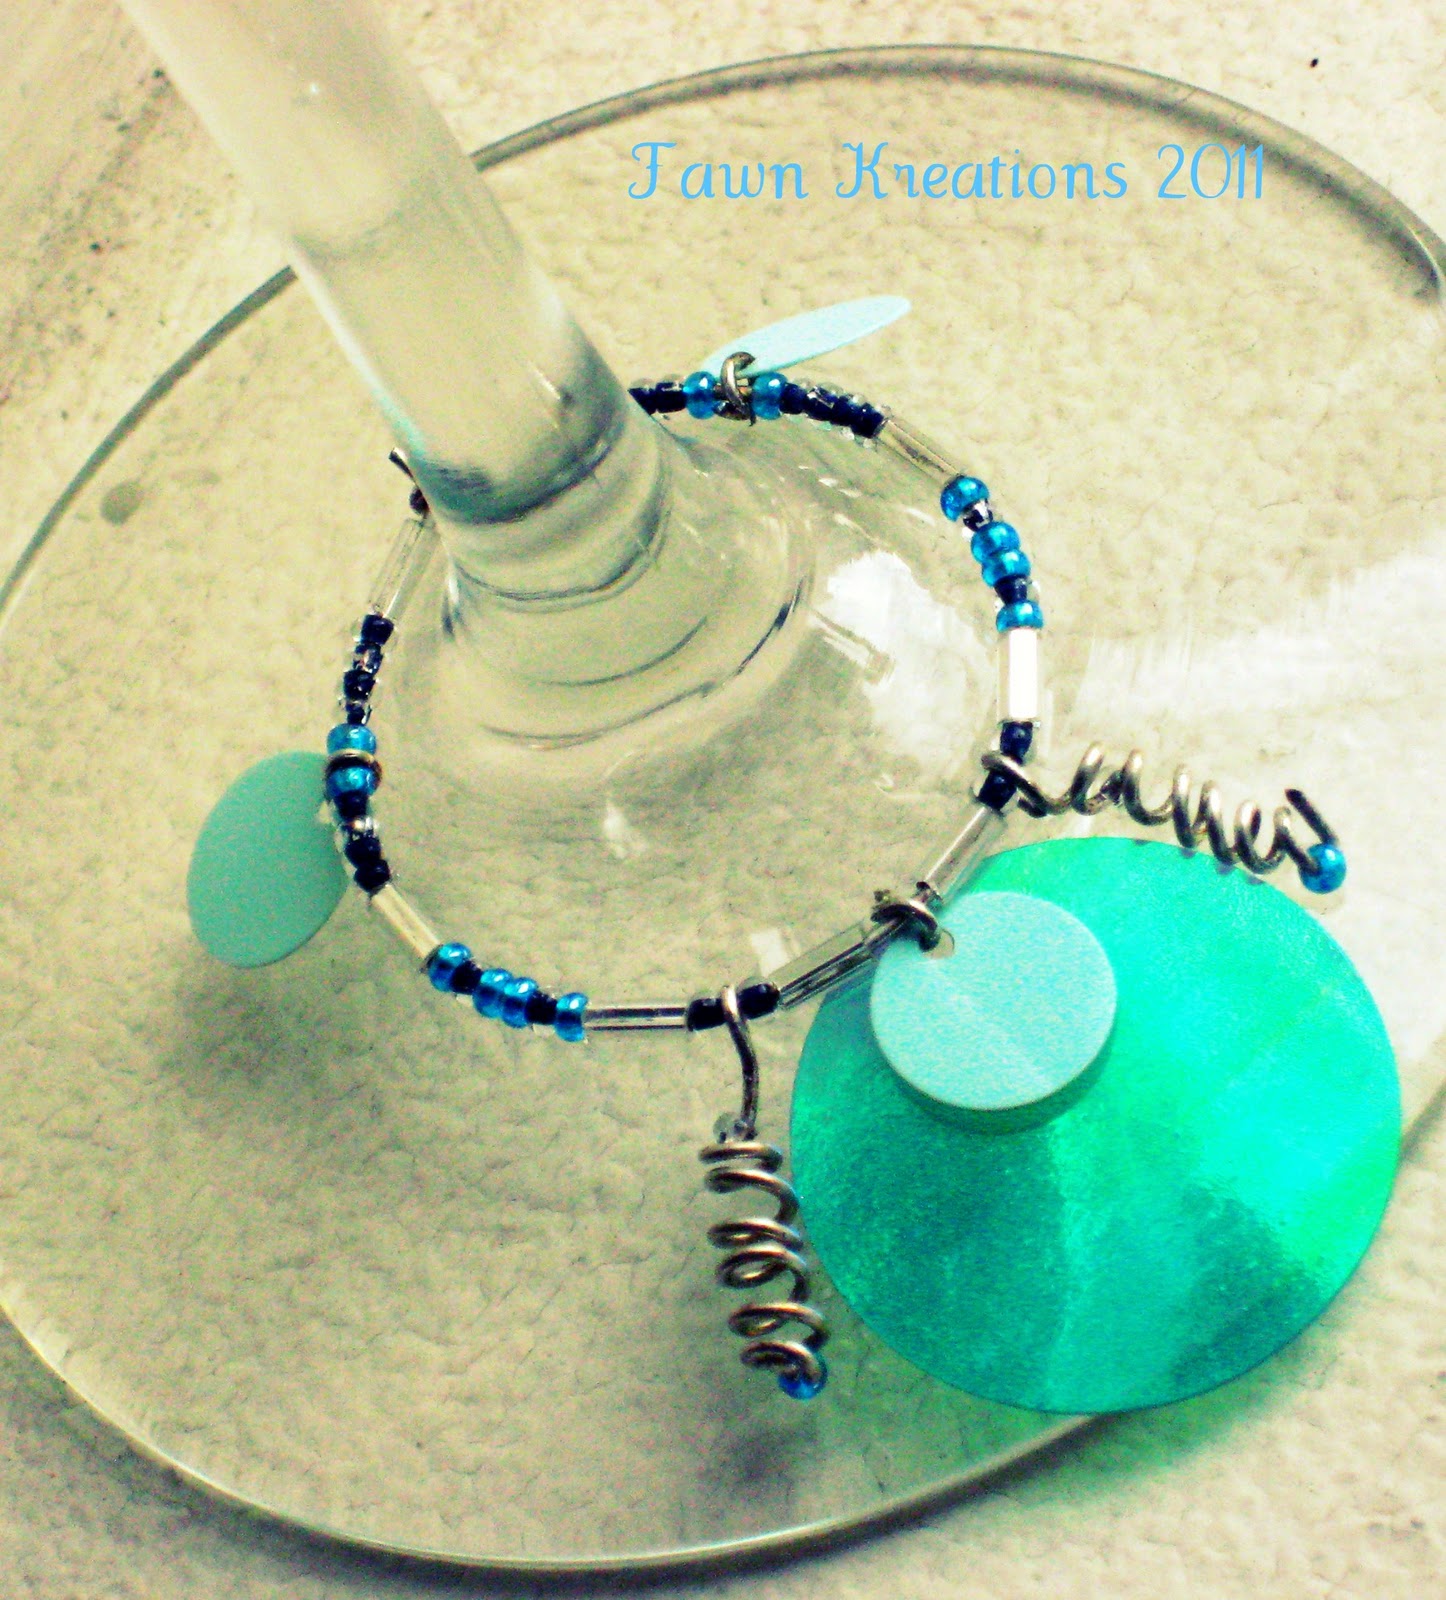
Wine Glass Charms


I just found these charms that I made 4 years ago! Such a long time, wow! You can tell I do a lot of partying...lol! I couldn't believe it when I saw them. They are just some fun little charms to put around some party glass stems. It makes things a little more colorful and fun! Enjoy this archeological discovery! =)


Custom orders available

Wednesday, January 12, 2011

Stick-Picker-Upper Tutorial

Do you have a hard time picking up those teeny, tiny pieces that need to be glued down? It can be very frustrating so here is a quick tutorial on a cheap DIY "sticky tool." 

Here is what you need:
Aleene's Tack-It Over & Over
Anything with a small end (I used a paintbrush)
The teeny, tiny piece you need to pick up (I have a white rhinestone)

Place a very small amount of Aleene's Tack-It Over & Over on the end of your paintbrush (r whatever you chose). Set it aside with glue side up and let it dry.

Once dry, you can now pick up the teeny tiny piece and place it where you need it. YAY!!!
When you are done with your project, you can just remove the glue and your paintbrush is back to normal.

I hope this will minimize your frustration when working with small items. =)

Sunday, January 9, 2011

"Bliss" Canvas Wall Hanging

I made this for my brother and his fiancé.  I believe this picture was taken the night my brother proposed. It is a perfect representation of bliss they feel. The elegrunge (elegant-grunge = I like to make up my own words haha) fits them both so well. I can't wait to give it to them!


My elegrunge flowers are made with paper and screen door material. I got my inspiration for the paper portion of the flowers from Lisa over at what-a-beautiful-mess.blogspot.com. She has amazing tutorials and is such a talented woman. 


Bliss- Perfect Happiness; Serene Joy. 


Close up of the green and blue ink peeking through the distressed paint.

I am addicted to Picnic.com. It is free for most of the features but I had to upgrade. It's only $25.00 for a year. As much as I use it definitely makes it worth it! 
I stole the pic from my future sister's facebook page. I'm so sneaky!! mwuahhahahaha! 

BEFORE

AFTER
I added some flourishes and the word bliss as well.

Not for sale.
Custom orders available.

Sunday, January 2, 2011

Minnie Mouse Cupcake Toppers

NOT AVAILABLE FOR PURCHASE
I made these for a 
very special 1st birthday! The theme is Minnie Mouse and what would a party be without Minnie Mouse cupcake toppers?  I used the Cricut Cartridge "Mickey Font." Added some polka dots and viola! 
Back side on the Left and Front side on the Right


Happy Birthday Bella!!