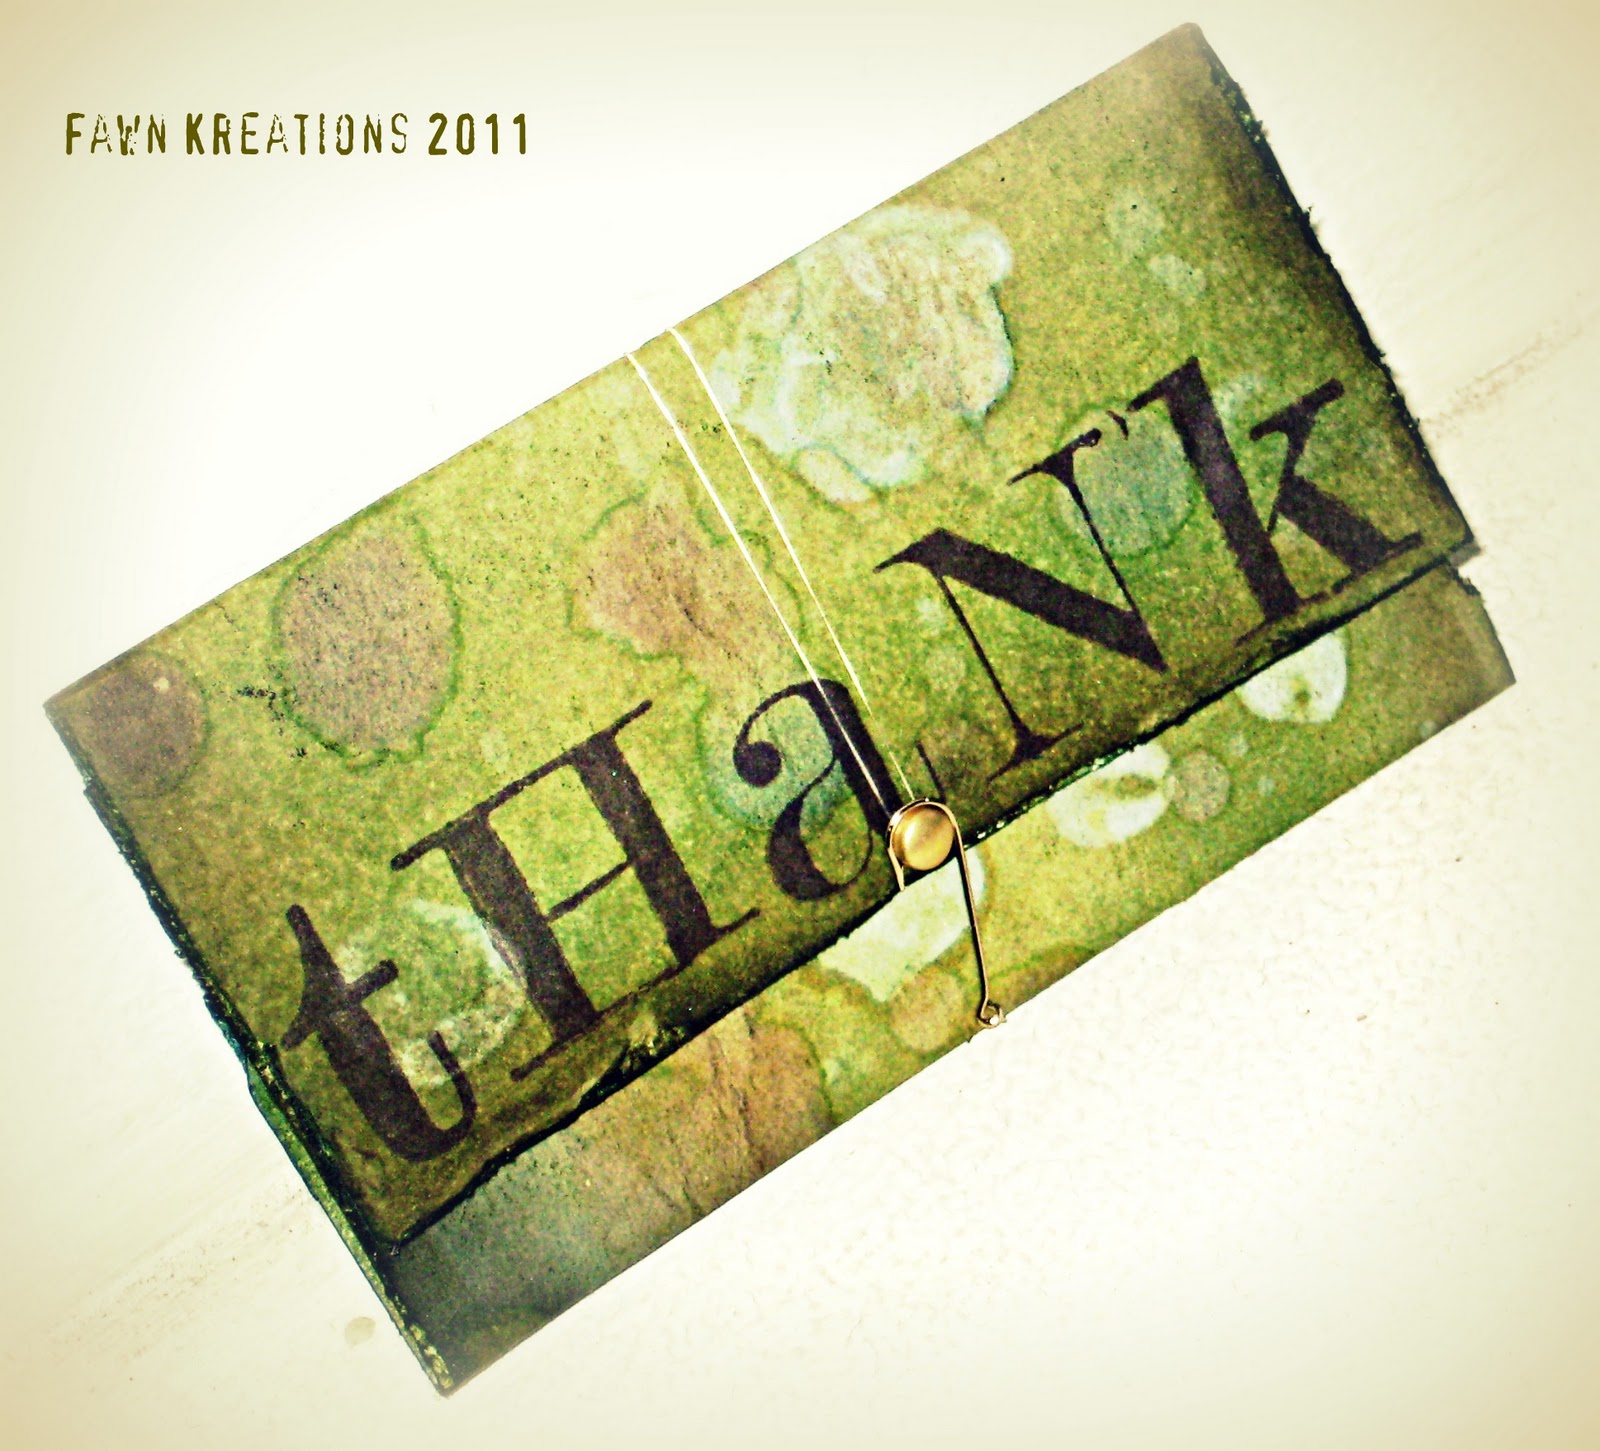
I will be showing you how I made the Fishing Gift Card Holder. I will also show you how I made the waves that hold the gift card in place.
So let's get started!!
Supplies
To make the waves:
"Life is a Beach" Cricut Cartridge
Distress Inks: Broken China, Weathered Wood, Shabby Shutters, Forest Moss
Ink Applicators
Embossing Machine
Embossing Folders of your choice ( I used D'Vine Swirls and Swiss Dots from Cuttlebug)
Adhesive
To make the gift card:
Paper Measuring 4 X 6 1/4
Scorer & Scoreboard
Paper Distresser
Distress Inks:
Peeled Paint, Forest Moss, Crushed Olive, Walnut Stain, Stormy Sky, & Faded Jeans
Staz-On Timber Brown ink
Ink Applicators
Stamps of your choice
(I used some Tim Holtz and a wood mounted Bass stamp)
Craft Pick
Embossing Ink
Embossing Powder
Embossing Gun
Hand Sanitizer
Water
1 Brad
2 Hooks with the tip and barb cut off
(Can use another method if you prefer)
Fishing Line
(Can use a different material if you prefer)
Part 1
Making the waves
Step 1: Using the waves from the letter "R" function on Life is a Beach, you will cut 2 sections of waves; one at 2 inches and the other at 1 1/2 inches.

Step 2: Cut the 1 1/1 inch strips just like the pic below. Do not cut the larger section of waves.

Step 3: Apply the ink using an ink applicator to the waves.
First Shabby Shutters, then Weathered Wood, followed by Broken China. You can't really mess this up so that makes it stress free! ; )


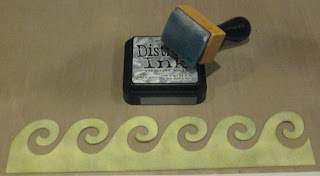

Step 4: Do the same to the smaller wave sections. You will only need to do the tips so don't worry about inking the base.
Start with Broken China First then end withWeathered Wood.


Step 5: Cut the bases off of the small waves.

Step 6: Once you have your waves inked and cut, place them in embossing folders. The large wave was placed in the D'vine Swirls folder. You will need to run the large waves twice because the entire strip doesn't fit.

The small waves were placed in the Swiss Dots folder.

Step 7: Run them through your embossing machine
Step 8: More inking!! I added more Weathered Wood and (not pictured) Forest Moss on the large waves to bring out the swirls.
I also added more Weather Wood to the small waves (not pictured).

Step 9: Glue the small wave sections to the backside of the large waves as in the picture below. Make sure to place the small wave portion so that it will show when looking at it from the front (hoping that makes sense).


Viola! Waves! =)
Part 2
Making the gift card
Step 1: Apply Crushed Olive Distress Ink to entire surface of your 4 X 6 1/4 piece of paper.
Then apply Peeled Paint, Forest Moss and Stormy Sky in the same way.
Step 2: To achieve this background in the pic below sprinkle, with your hand, water and then do the same with the hand sanitizer. The hand sanitizer will pull out the Stormy Sky color.

Step 3: After the paper has dried, distress all four sides of the paper with a paper distresser.
Step 4: Apply Walnut Stain Distress Ink around all four of the edges.


Step 6: Place Stamps, in the Staz-On Timber Brown, where you would like them.


Step 9: Cover image with embossing ink, embossing powder and then heat emboss your image. You will need to place your craft pick over the hole you just pierced to keep this hole from being closed by the embossing enamel and to hold the image in place so it does not blow away with your embossing gun.


Step 11: Score the green inked portion at the 2 inch mark and score blue inked portion at the 4 1/4 inch mark.
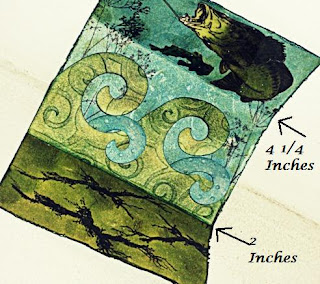
Step 12: Pierce a hole at the top for your brad to fit and place brad (refer to last image to show placement of brad).
Step 13: Place and glue stamped image so that the underside of the brad is no longer visible (the fish is now covering the prongs of the brad).

Step 14: Tie fishing line to hook and place the hook in mouth where you pierced a hole earlier (if you would like).
Step 15: Glue down hook.
Step 16: Score a thin line at the base of the waves. This will provide a tab to glue.
Step 17: Match the scored line on your waves to the score line on the gift card and glue down. Let dry.

Step 18: Glue tiny portion of the side of the waves to act as the pocket for your gift card. Make sure your gift card can slide in and out easily.

Step 19: Double the fishing line and tie the two ends in a knot around the hook.
Step 20: Place the loop end of the fishing line around the brad, wrap fishing line around the gift card and place hook around the brad to keep it closed.

Hope you enjoyed this tutorial. If you have any questions let me know and I would be happy to help. =)
So let's get started!!
Supplies
To make the waves:
"Life is a Beach" Cricut Cartridge
Distress Inks: Broken China, Weathered Wood, Shabby Shutters, Forest Moss
Ink Applicators
Embossing Machine
Embossing Folders of your choice ( I used D'Vine Swirls and Swiss Dots from Cuttlebug)
Adhesive
To make the gift card:
Paper Measuring 4 X 6 1/4
Scorer & Scoreboard
Paper Distresser
Distress Inks:
Peeled Paint, Forest Moss, Crushed Olive, Walnut Stain, Stormy Sky, & Faded Jeans
Staz-On Timber Brown ink
Ink Applicators
Stamps of your choice
(I used some Tim Holtz and a wood mounted Bass stamp)
Craft Pick
Embossing Ink
Embossing Powder
Embossing Gun
Hand Sanitizer
Water
1 Brad
2 Hooks with the tip and barb cut off
(Can use another method if you prefer)
Fishing Line
(Can use a different material if you prefer)
Part 1
Making the waves
Step 1: Using the waves from the letter "R" function on Life is a Beach, you will cut 2 sections of waves; one at 2 inches and the other at 1 1/2 inches.

Step 2: Cut the 1 1/1 inch strips just like the pic below. Do not cut the larger section of waves.

Step 3: Apply the ink using an ink applicator to the waves.
First Shabby Shutters, then Weathered Wood, followed by Broken China. You can't really mess this up so that makes it stress free! ; )


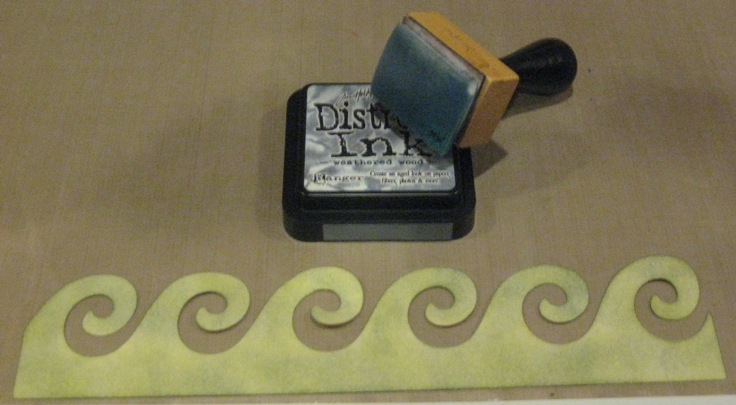

Step 4: Do the same to the smaller wave sections. You will only need to do the tips so don't worry about inking the base.
Start with Broken China First then end withWeathered Wood.


Step 5: Cut the bases off of the small waves.

Step 6: Once you have your waves inked and cut, place them in embossing folders. The large wave was placed in the D'vine Swirls folder. You will need to run the large waves twice because the entire strip doesn't fit.

The small waves were placed in the Swiss Dots folder.

Step 7: Run them through your embossing machine
Step 8: More inking!! I added more Weathered Wood and (not pictured) Forest Moss on the large waves to bring out the swirls.
I also added more Weather Wood to the small waves (not pictured).

Step 9: Glue the small wave sections to the backside of the large waves as in the picture below. Make sure to place the small wave portion so that it will show when looking at it from the front (hoping that makes sense).


Viola! Waves! =)
Part 2
Making the gift card
Step 1: Apply Crushed Olive Distress Ink to entire surface of your 4 X 6 1/4 piece of paper.
Then apply Peeled Paint, Forest Moss and Stormy Sky in the same way.
Step 2: To achieve this background in the pic below sprinkle, with your hand, water and then do the same with the hand sanitizer. The hand sanitizer will pull out the Stormy Sky color.

Step 3: After the paper has dried, distress all four sides of the paper with a paper distresser.
Step 4: Apply Walnut Stain Distress Ink around all four of the edges.

Step 5: Turn your piece of paper over. Ink the top 4 inches in Stormy Sky and Faded Jeans and then ink the bottom portion that is left in Crushed Olive, Peeled Paint, and Forest Moss. Note **There will be spots from the front side but it does make for a rustic effect.

Step 6: Place Stamps, in the Staz-On Timber Brown, where you would like them.


Step 7: Stamp your image on a separate sheet of paper. Ink the image how you like then cut it out.
Step 8: Place a small hole in the fishes mouth where the hook will go.

Step 9: Cover image with embossing ink, embossing powder and then heat emboss your image. You will need to place your craft pick over the hole you just pierced to keep this hole from being closed by the embossing enamel and to hold the image in place so it does not blow away with your embossing gun.

Step 10: Ink your saying/s on the front sides of the card before scoring. Feel free to personalize what you want your gift card holder to say.


Step 11: Score the green inked portion at the 2 inch mark and score blue inked portion at the 4 1/4 inch mark.

Step 12: Pierce a hole at the top for your brad to fit and place brad (refer to last image to show placement of brad).
Step 13: Place and glue stamped image so that the underside of the brad is no longer visible (the fish is now covering the prongs of the brad).

Step 14: Tie fishing line to hook and place the hook in mouth where you pierced a hole earlier (if you would like).
Step 15: Glue down hook.
Step 16: Score a thin line at the base of the waves. This will provide a tab to glue.
Step 17: Match the scored line on your waves to the score line on the gift card and glue down. Let dry.

Step 18: Glue tiny portion of the side of the waves to act as the pocket for your gift card. Make sure your gift card can slide in and out easily.

Step 19: Double the fishing line and tie the two ends in a knot around the hook.
Step 20: Place the loop end of the fishing line around the brad, wrap fishing line around the gift card and place hook around the brad to keep it closed.

Hope you enjoyed this tutorial. If you have any questions let me know and I would be happy to help. =)